Looking for a fun craft to do with your kids or class? These Rudolph ornaments are adorable and super simple to make. I am always looking for crafts that don't require a lot of materials, prep, or work. We hope you love these as much as we do!
MATERIALS
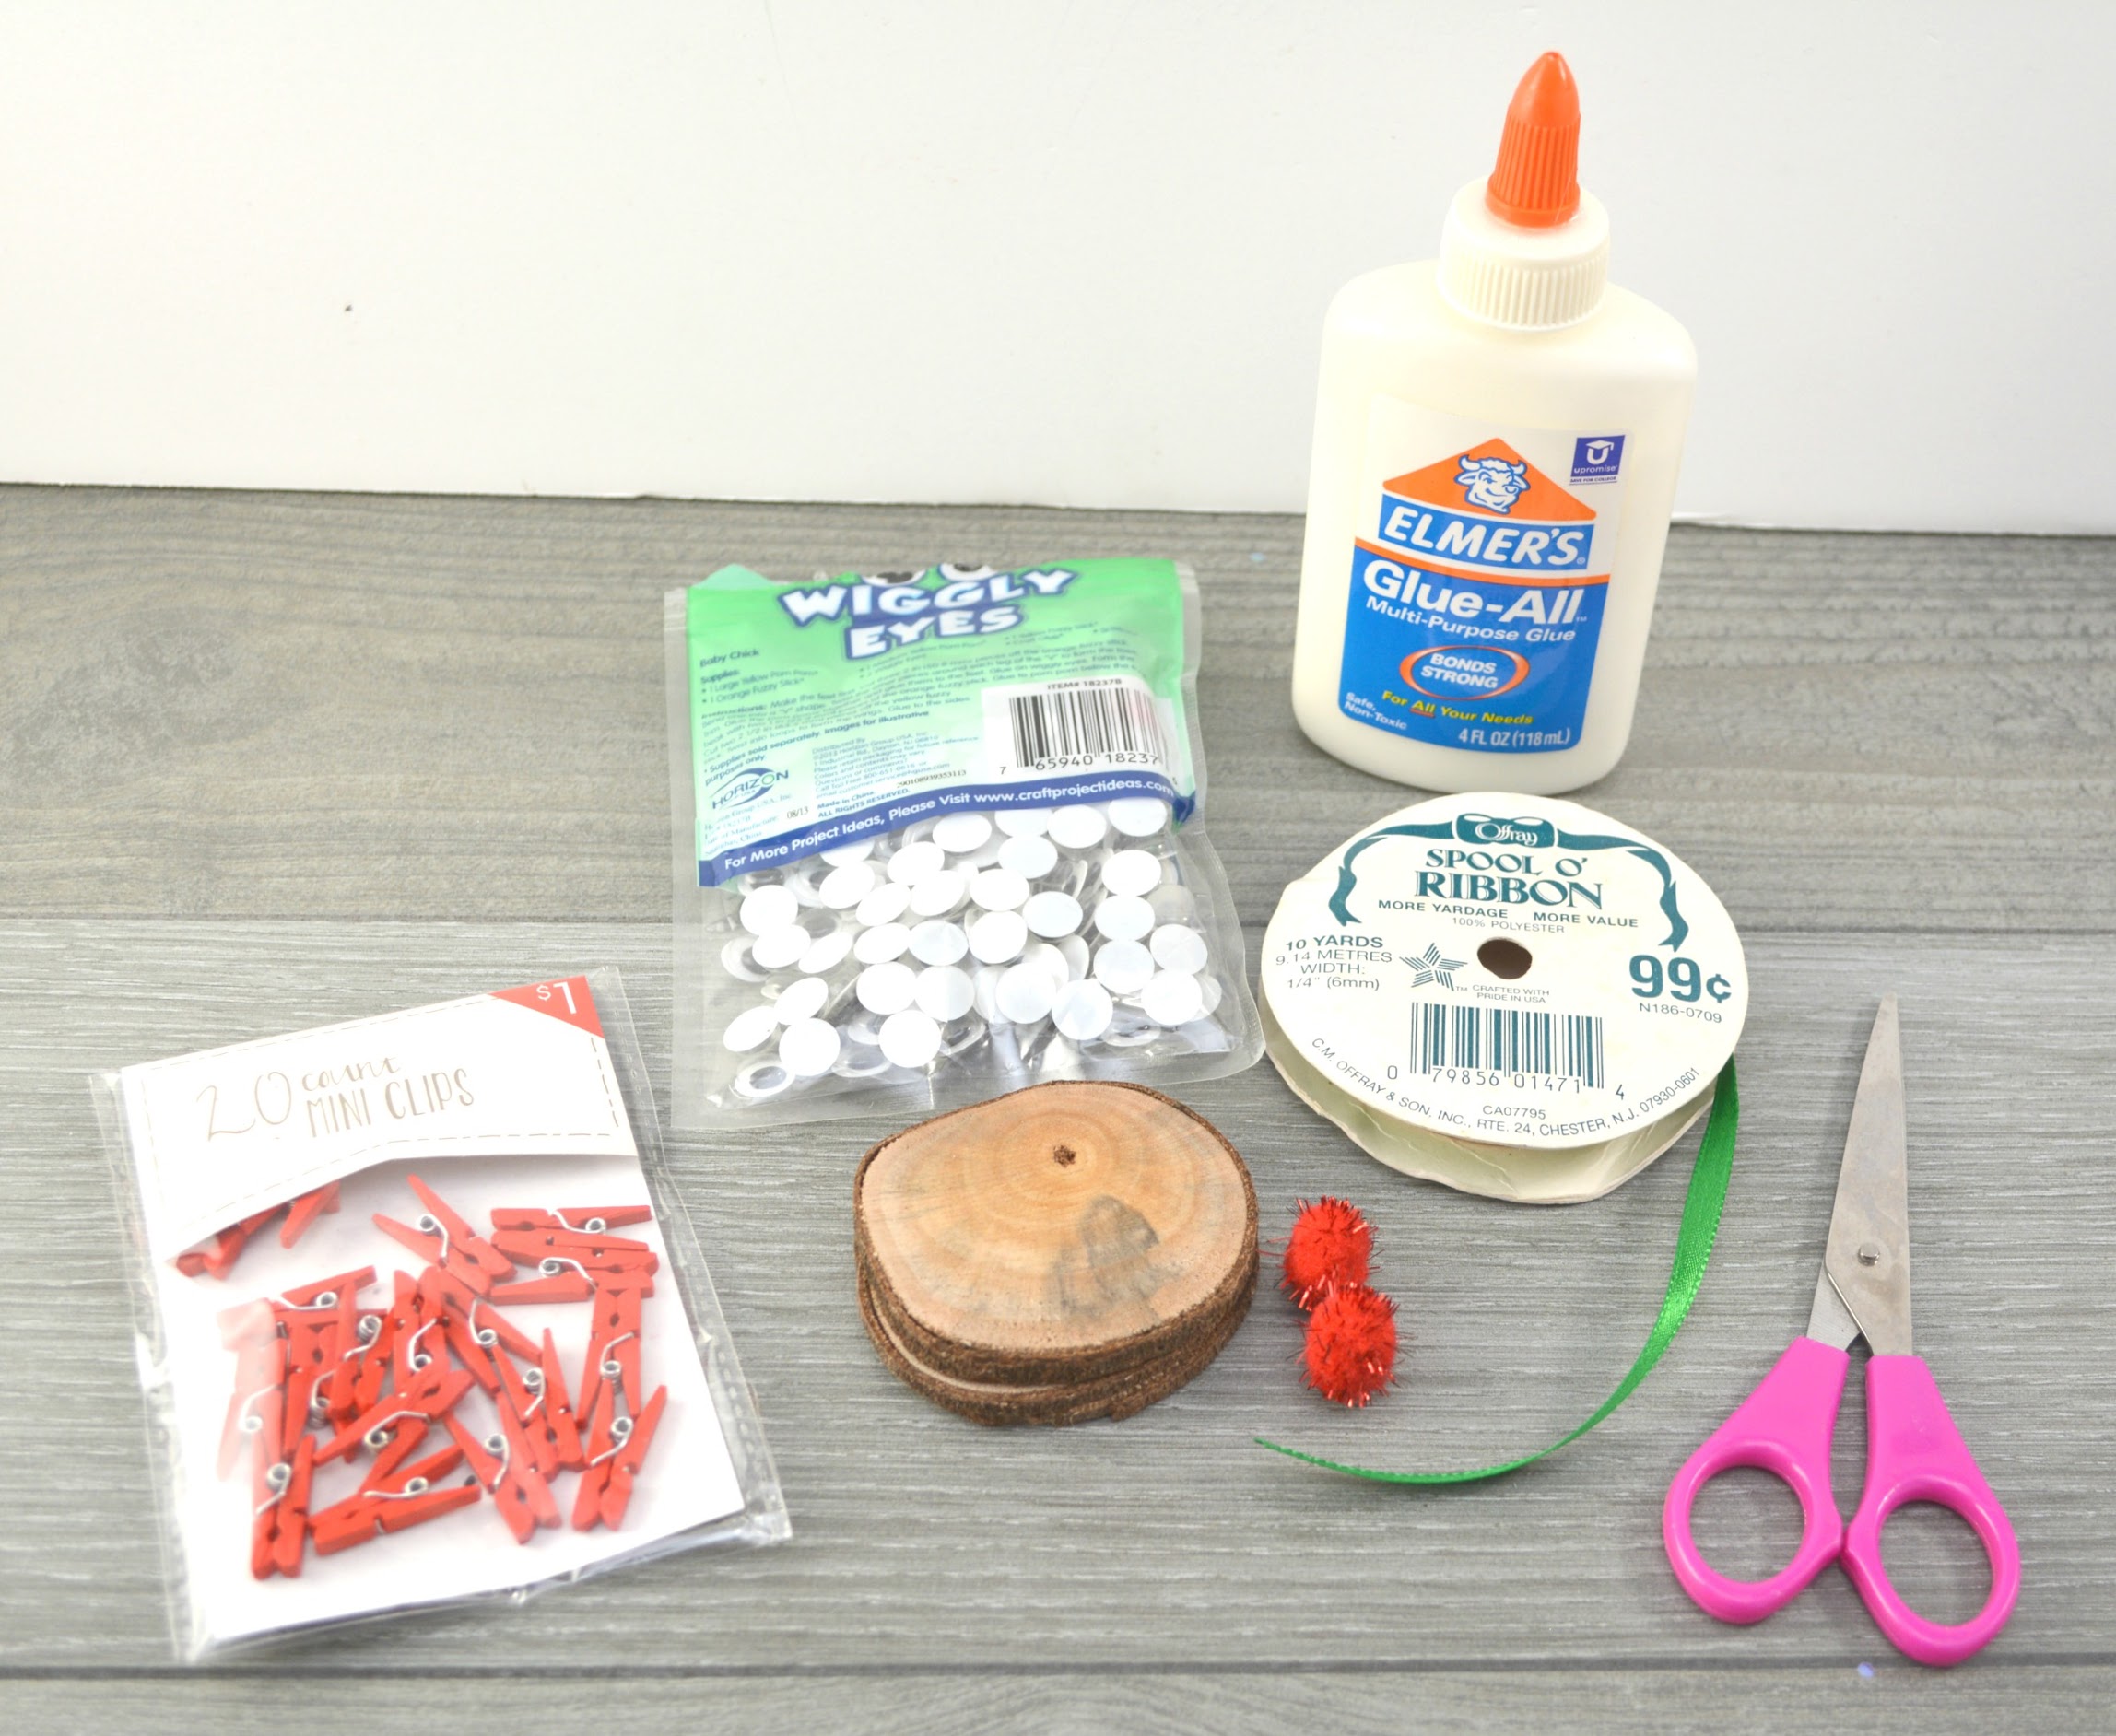
- Wood slices
- Miniature red clothespins
- Sparkly small red craft pom poms
- Wiggly eyes
- Craft glue
- Ribbon
- Scissors
- A drill with small drill bit (not needed if you buy wood slices with holes pre-drilled)
INSTRUCTIONS
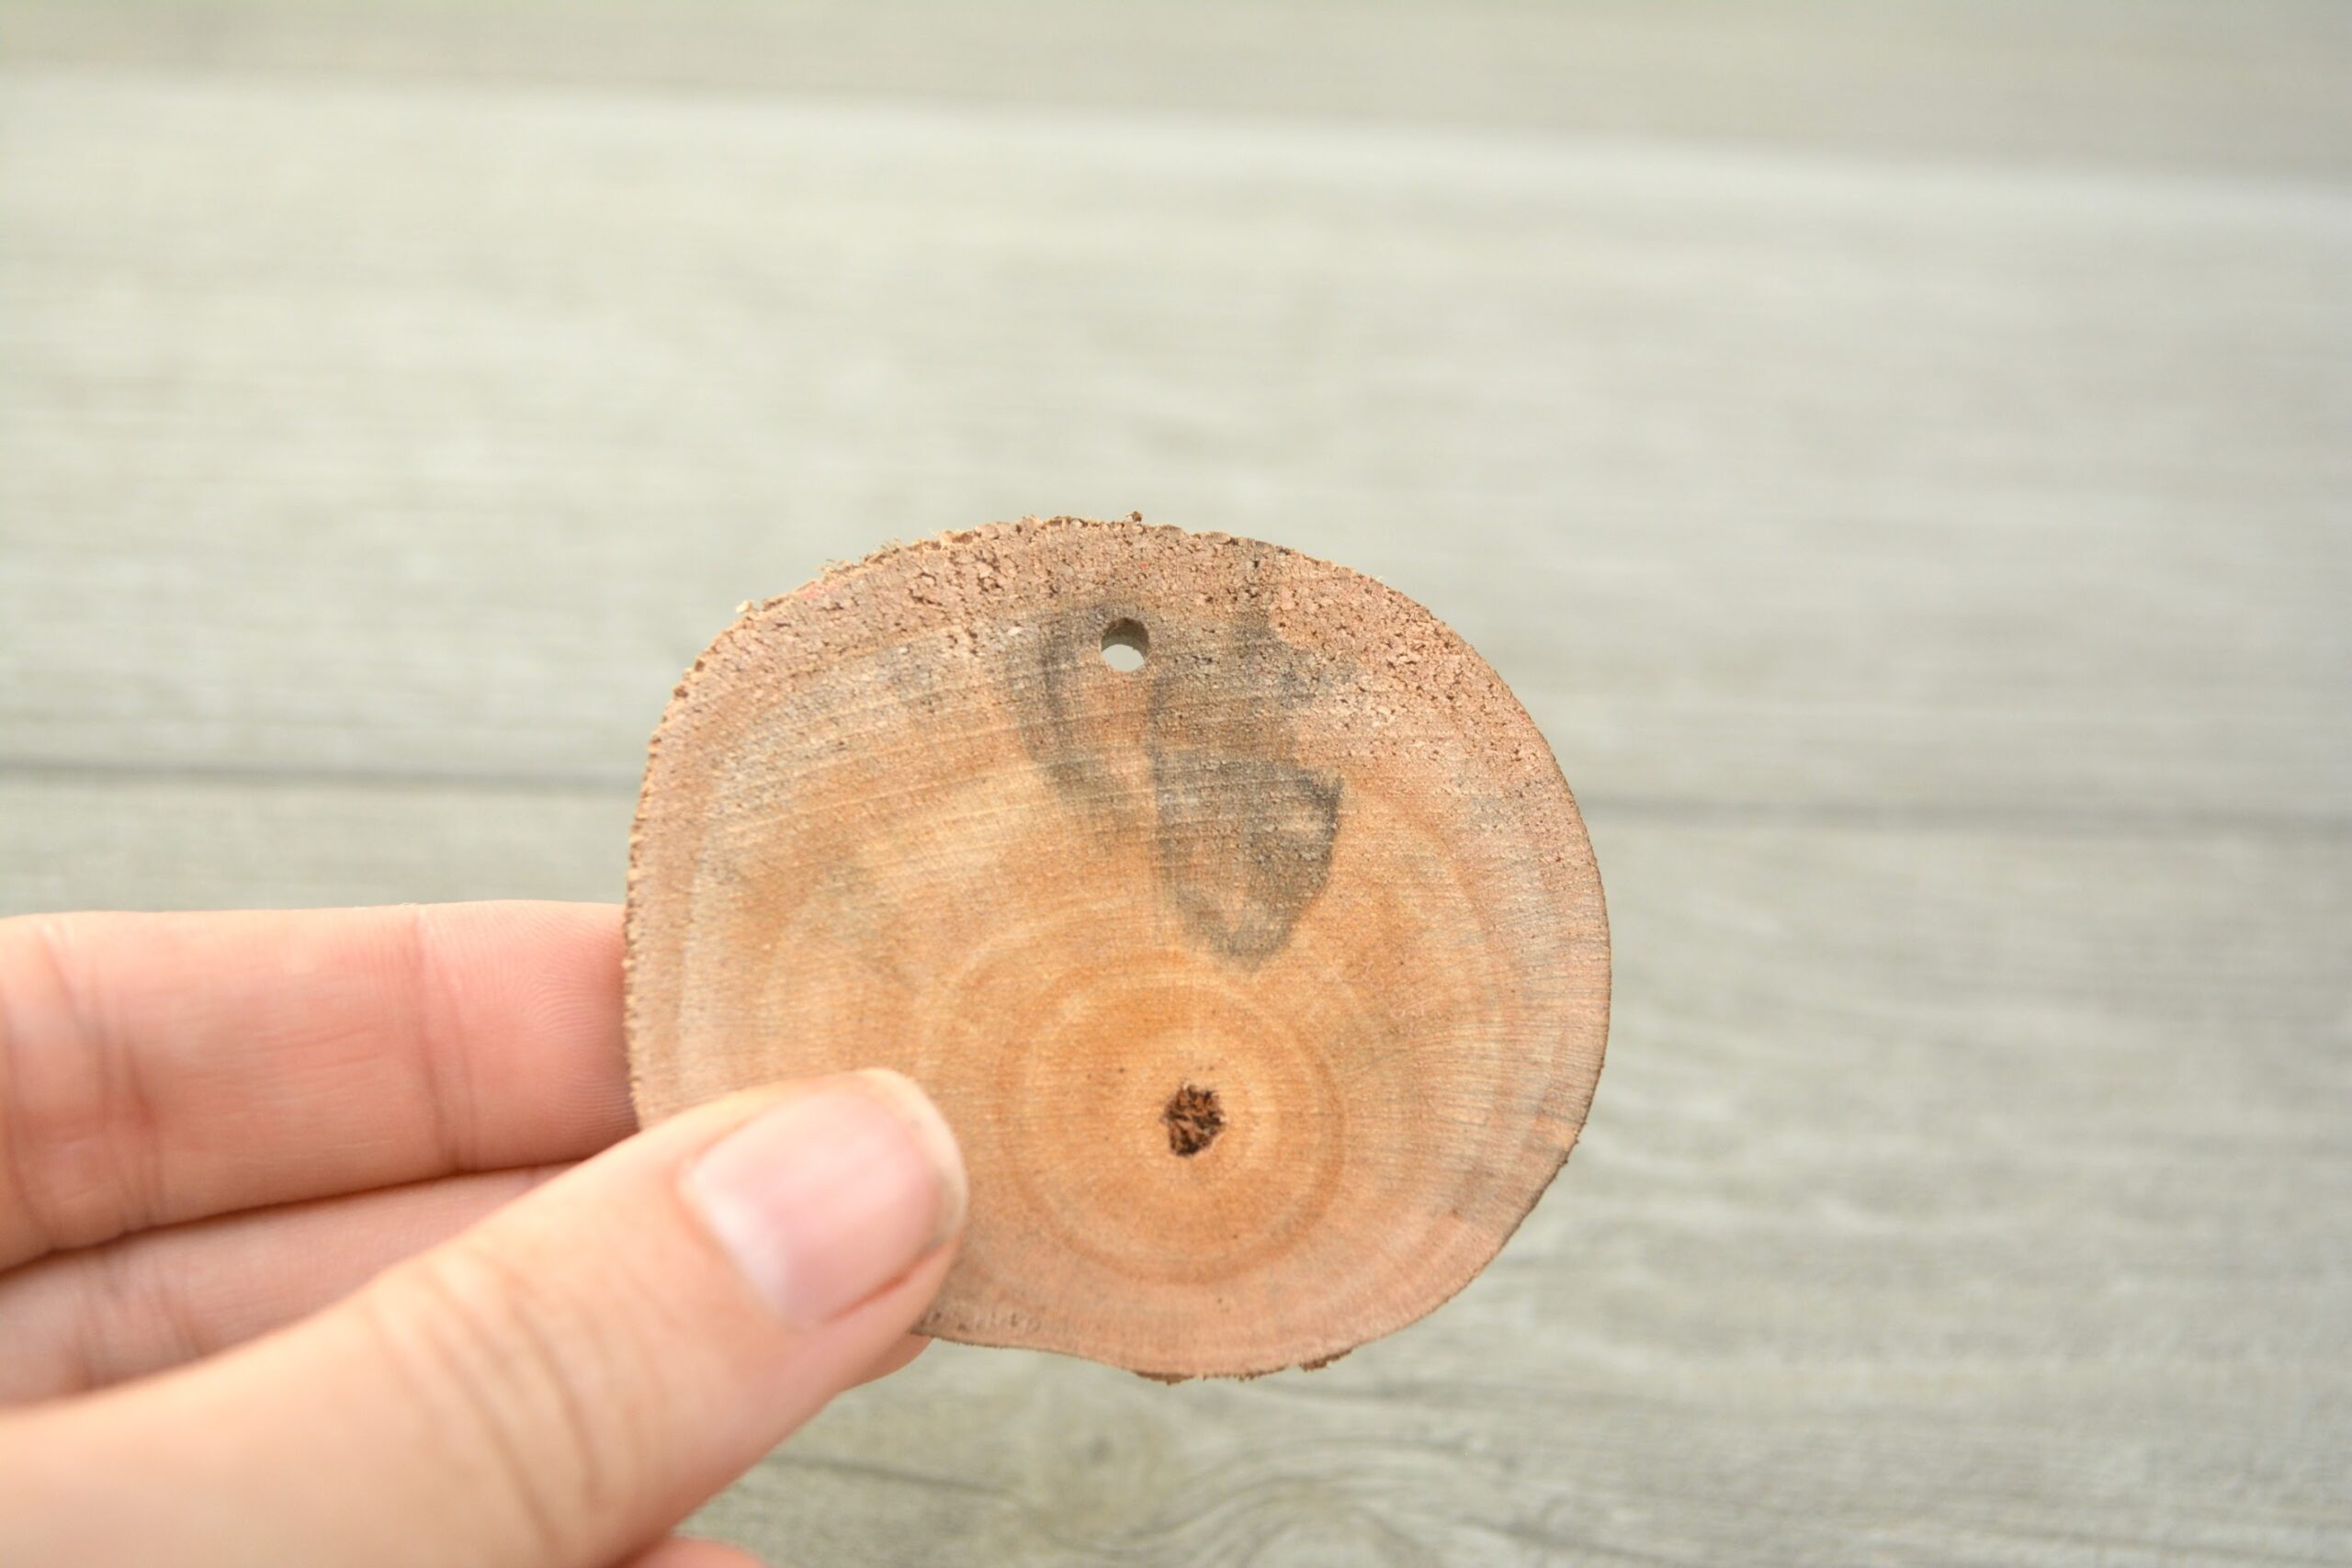
Begin making your Rudolph ornament by drilling a small hole in the top of your wood slices. You can skip this step if you purchased wood slices with a pre-drilled hole, or you can use glue to attach the ribbon at the end instead.
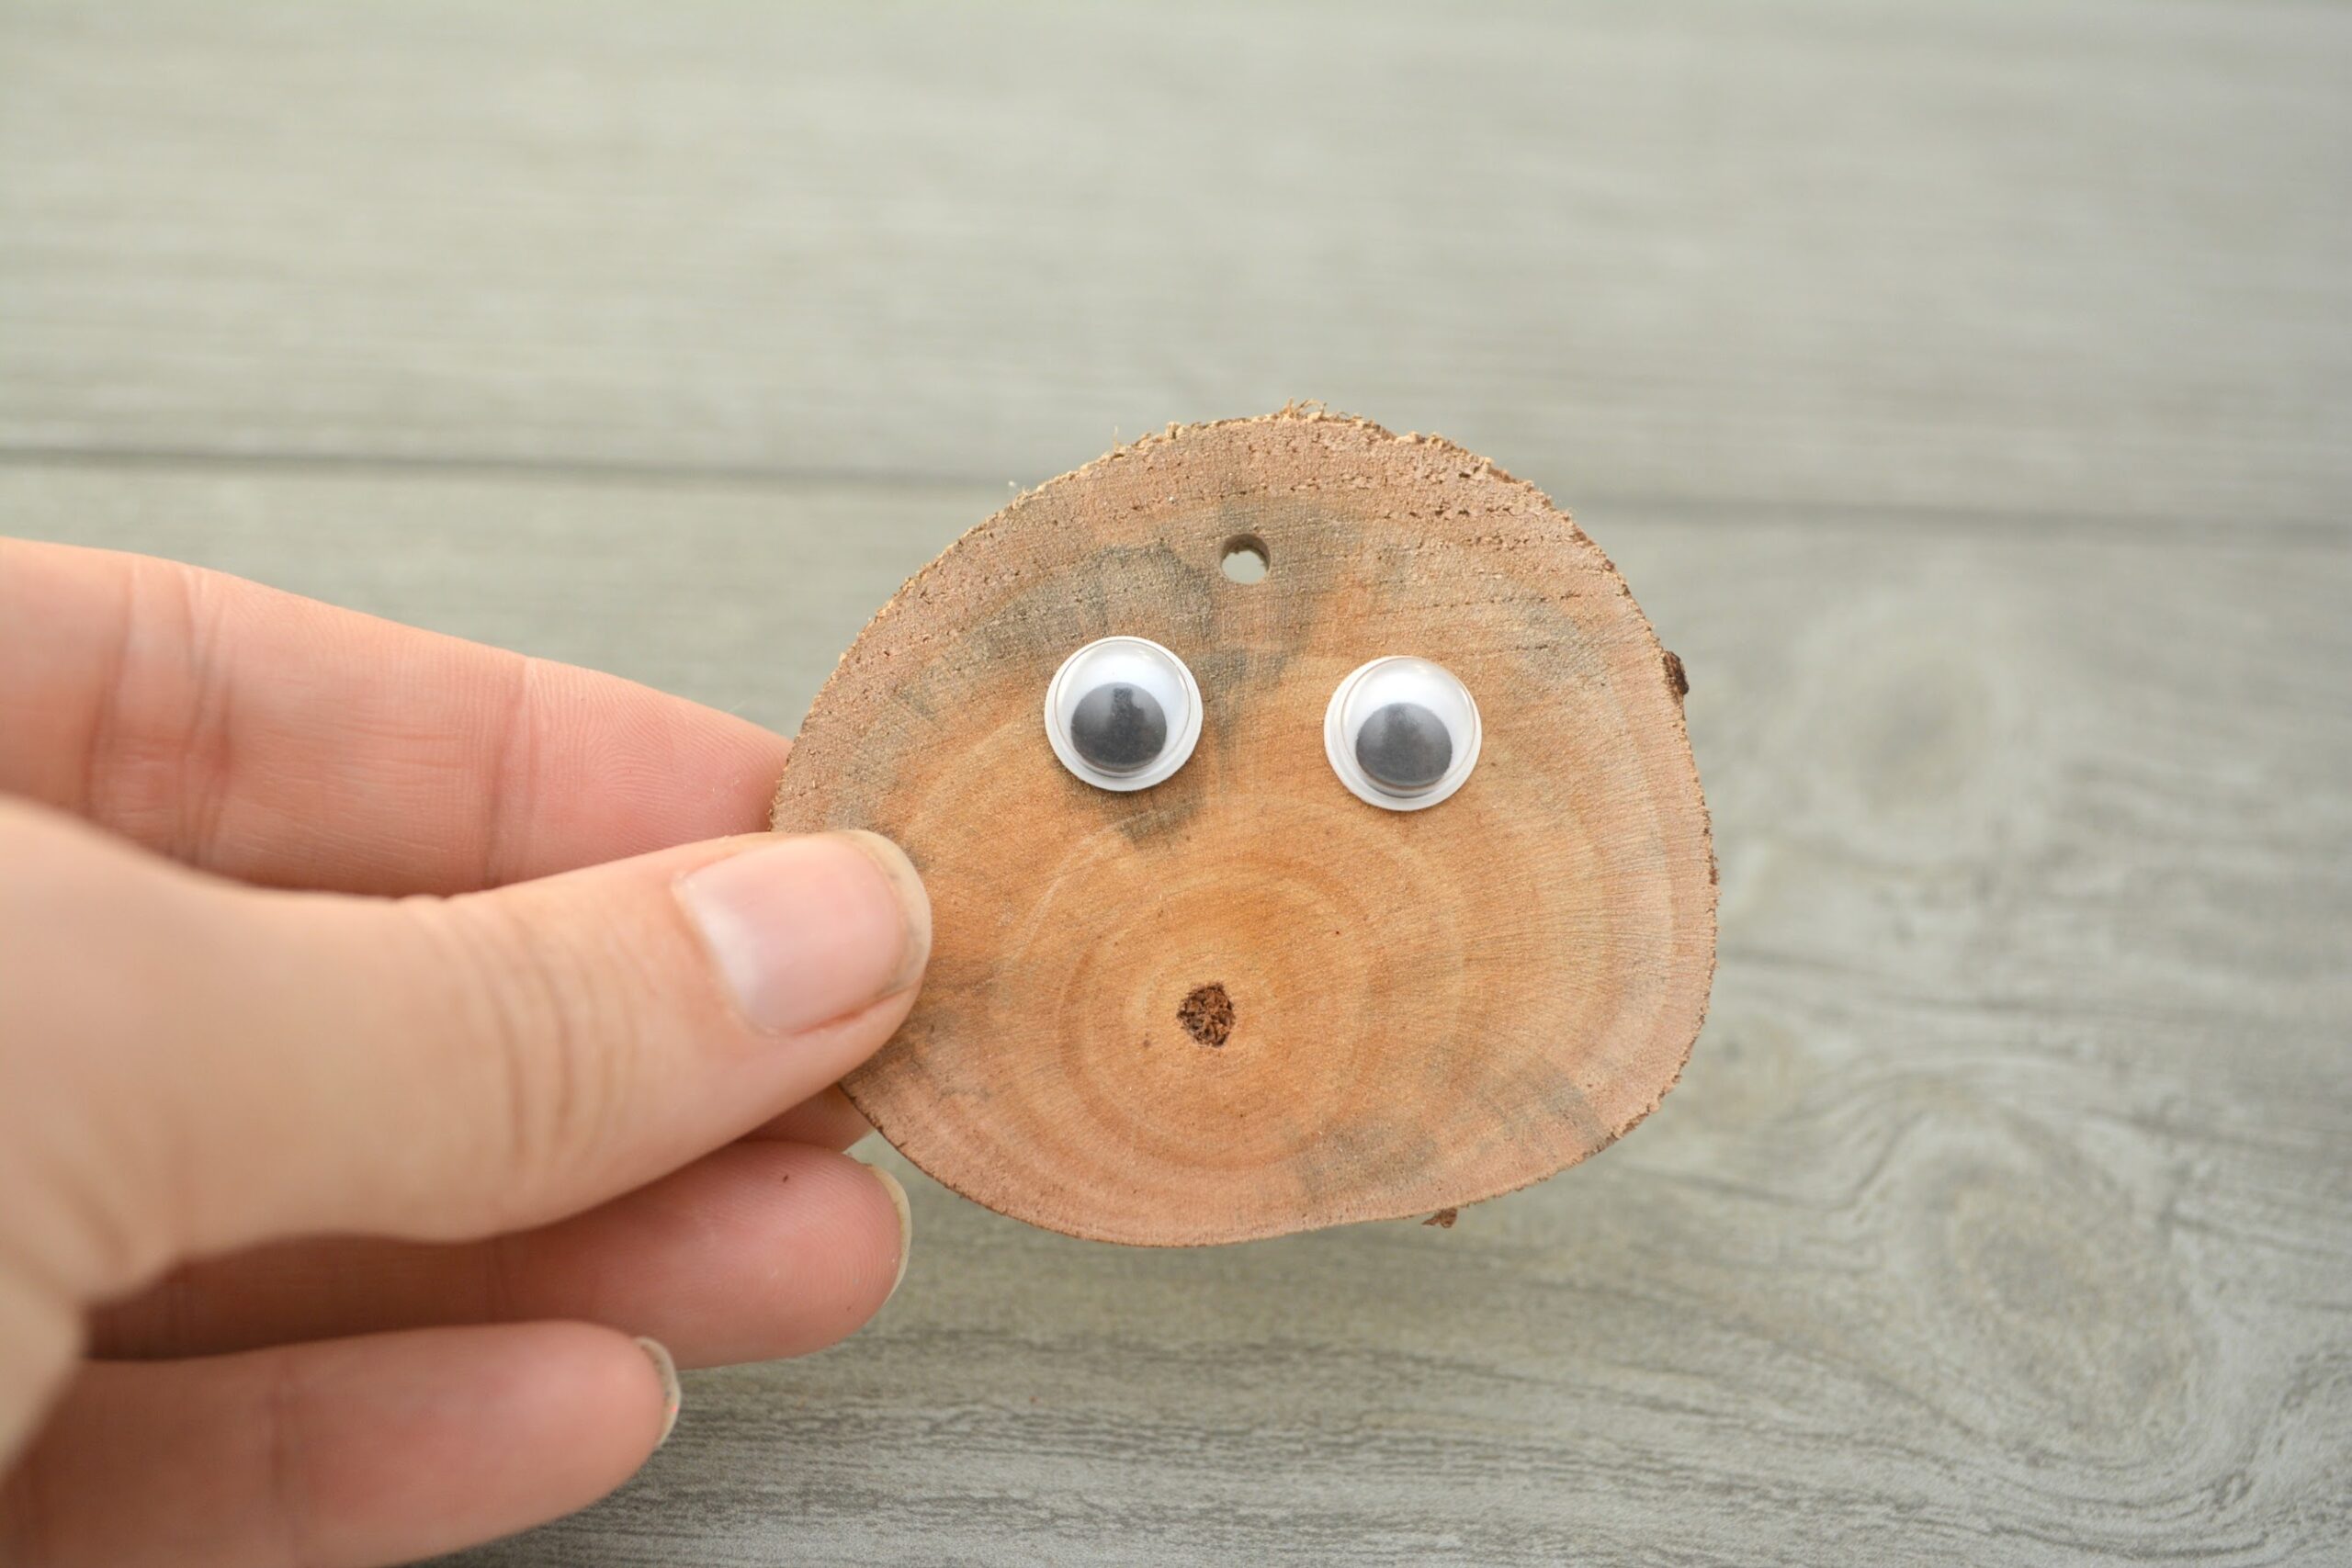
Glue on two wiggle eyes to the front of your wood craft slice.
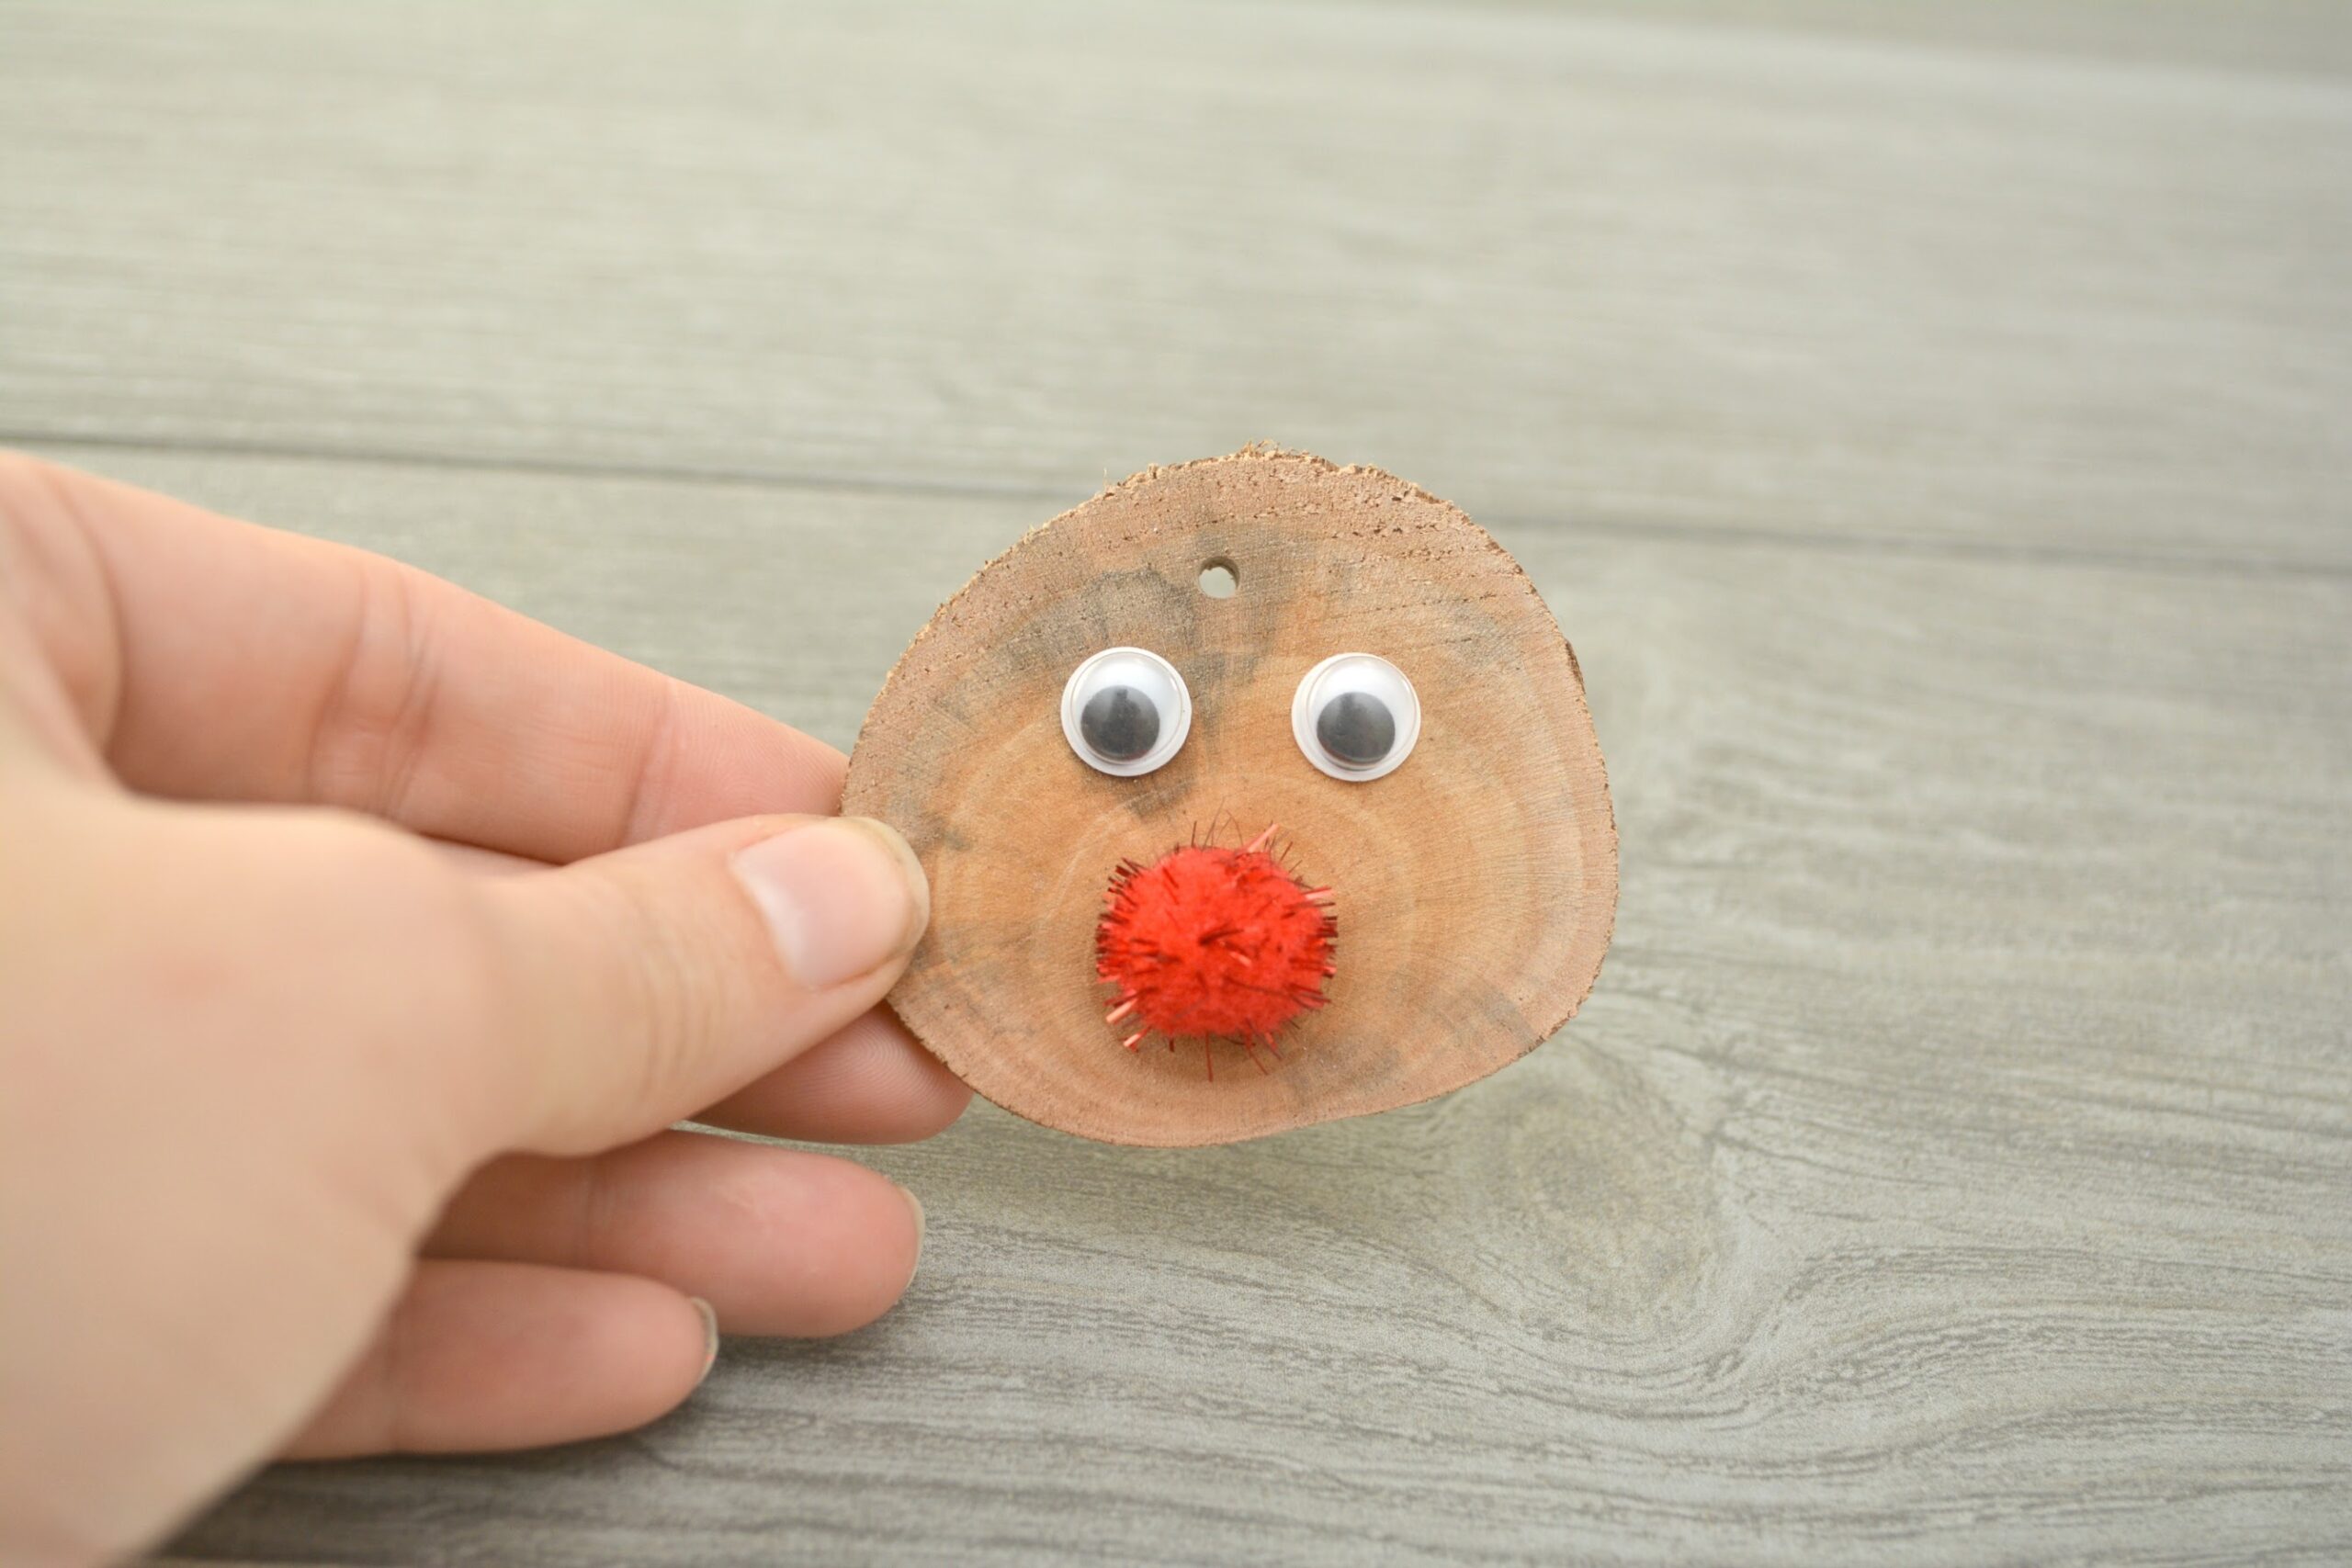
Use glue to attach a red sparkly craft pom pom to the front of your wood slice.
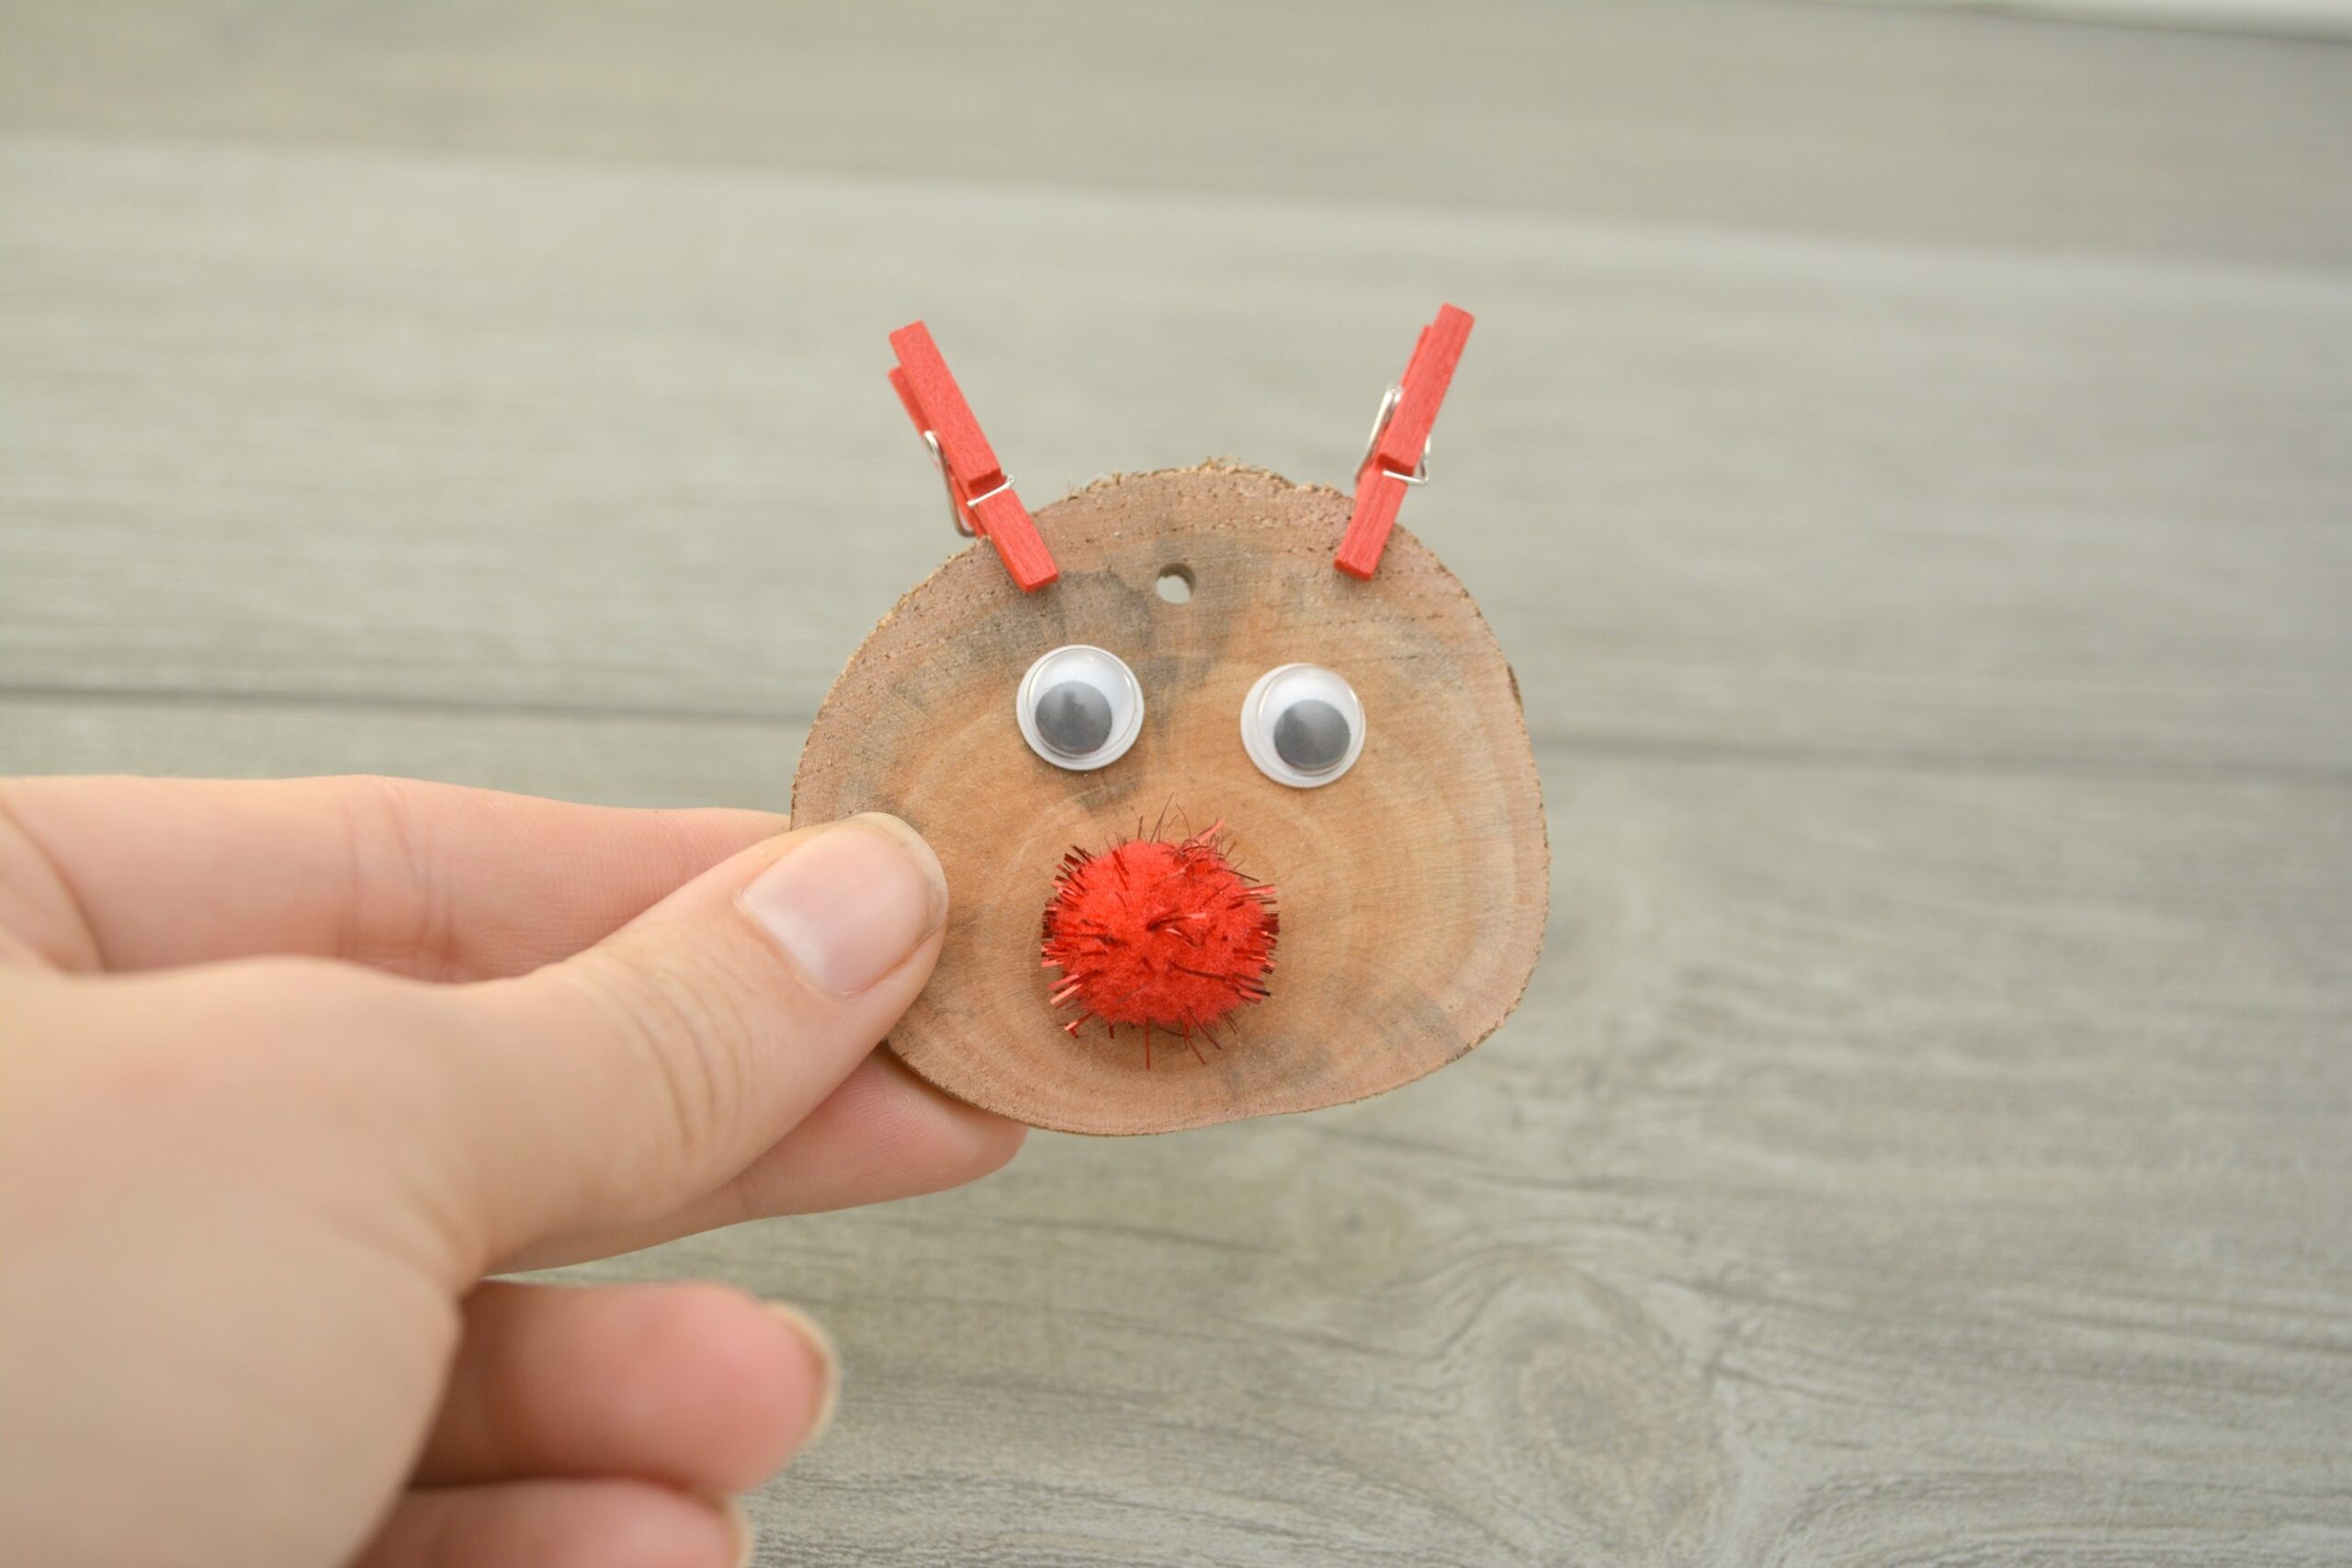
Attach two mini red clothespins to the top of your wood slice, one above each eye.
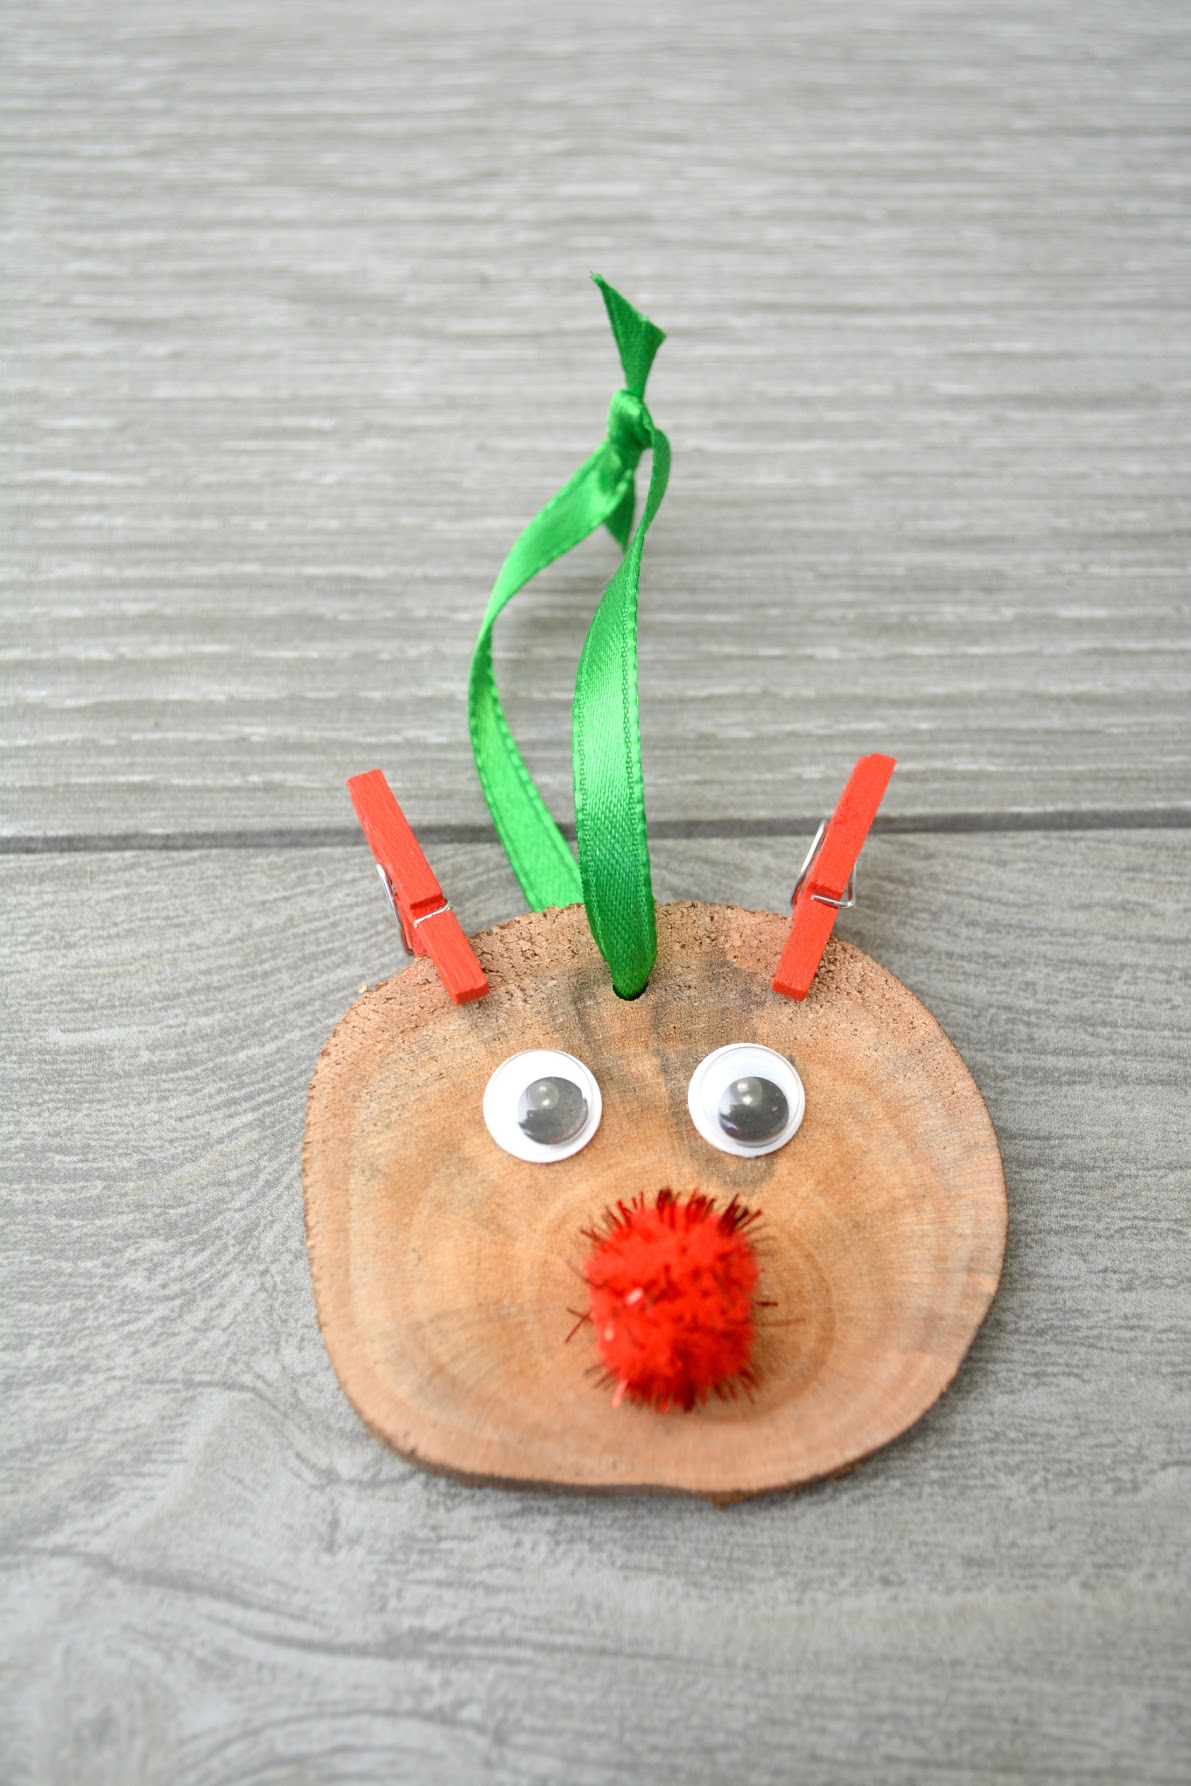
Thread a piece of ribbon through the hole in your wood slice, and tie it to make a loop that will be used to hang your ornament. You can also use glue at this point to attach the ribbon to the back of your wood slice if you do not wish to use a drill at all. Your Rudolph ornament is complete!
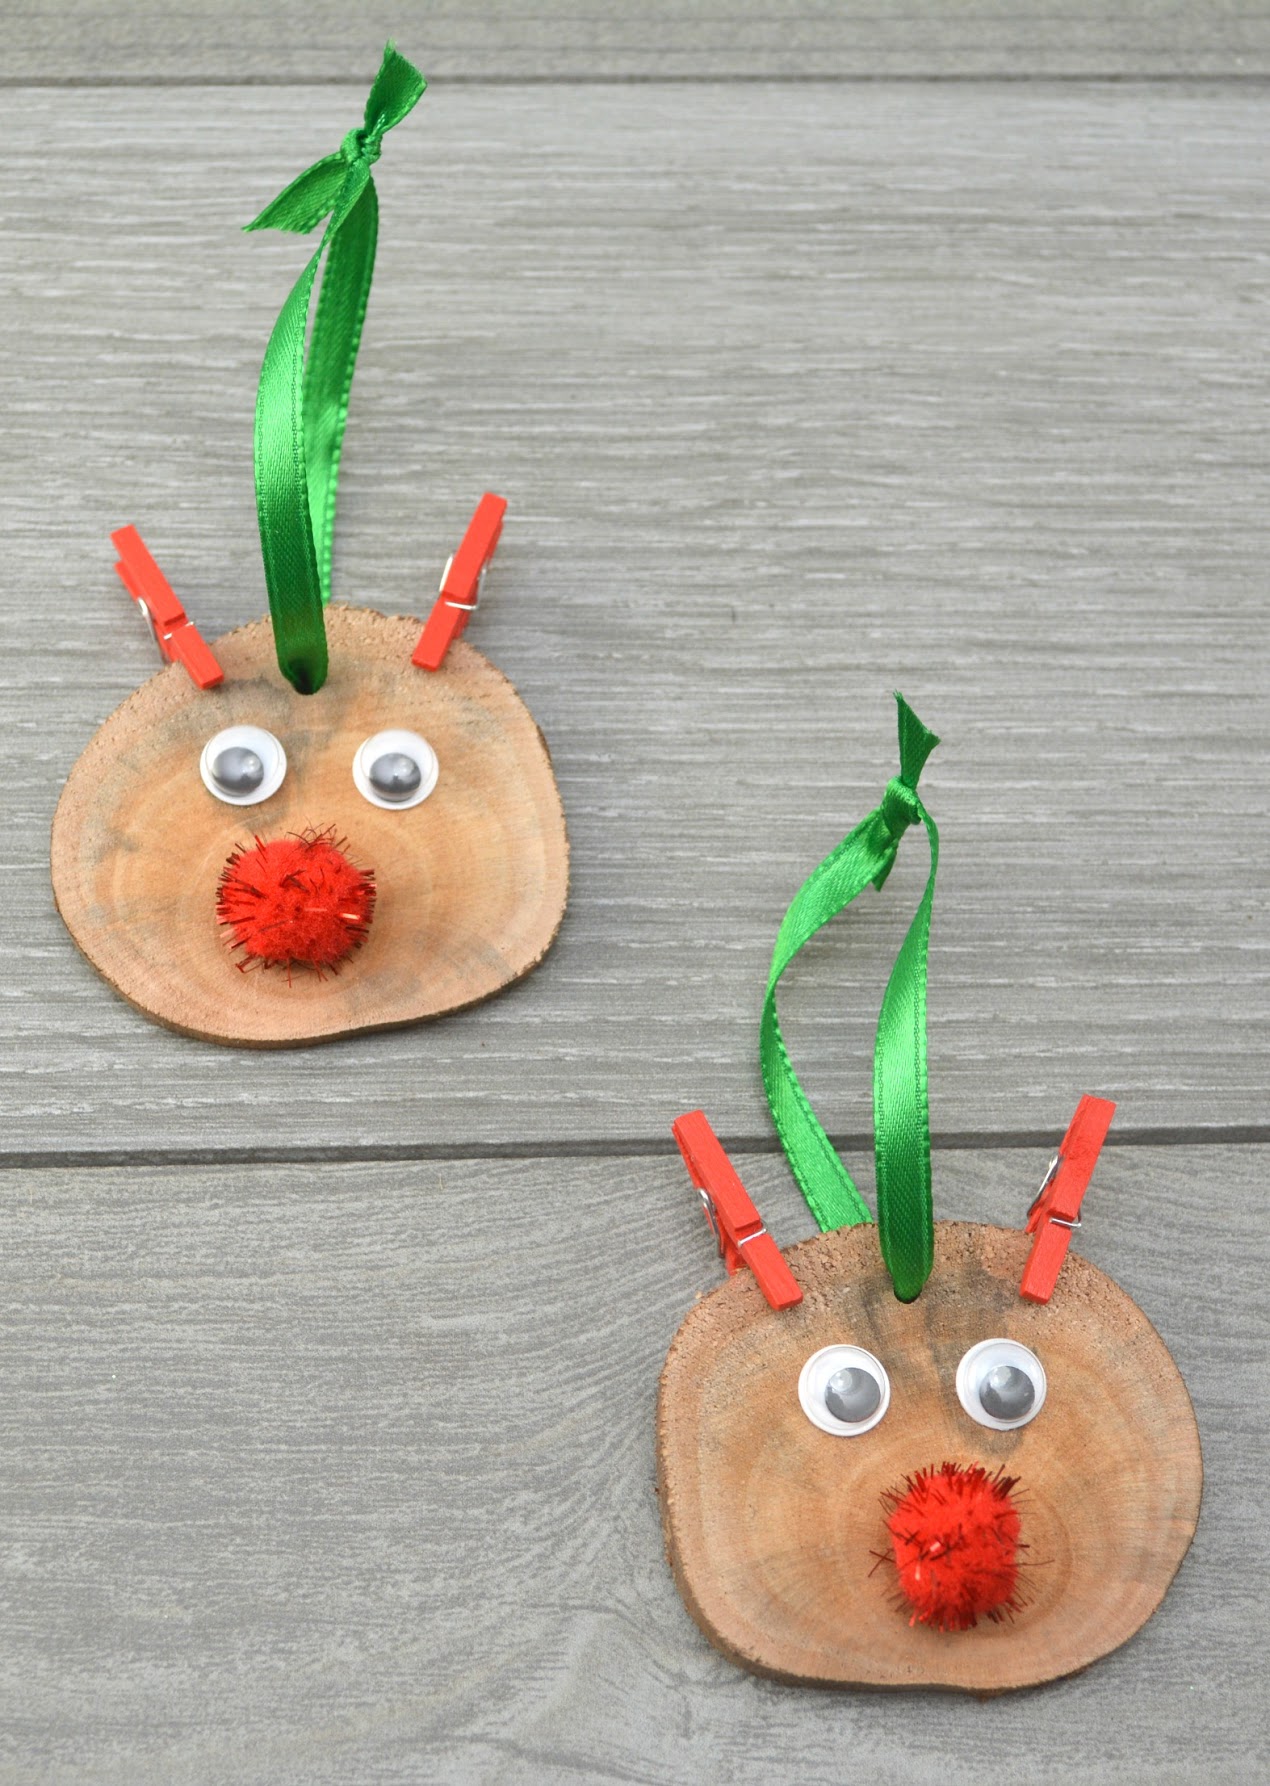
These Rudolph ornaments will be the perfect addition to your holiday party or family craft night. Make sure you add each child's name and year to the back for the perfect keepsake. If you are looking for other craft ideas, make sure to check out this post, too. Happy crafting!




Leave a Reply