Make Your Own DIY Doormat
The first thing people see when they come to your home is your doormat, a first impression of your house, if you will. Depending on how you want to express yourself, you may want a traditional doormat style.
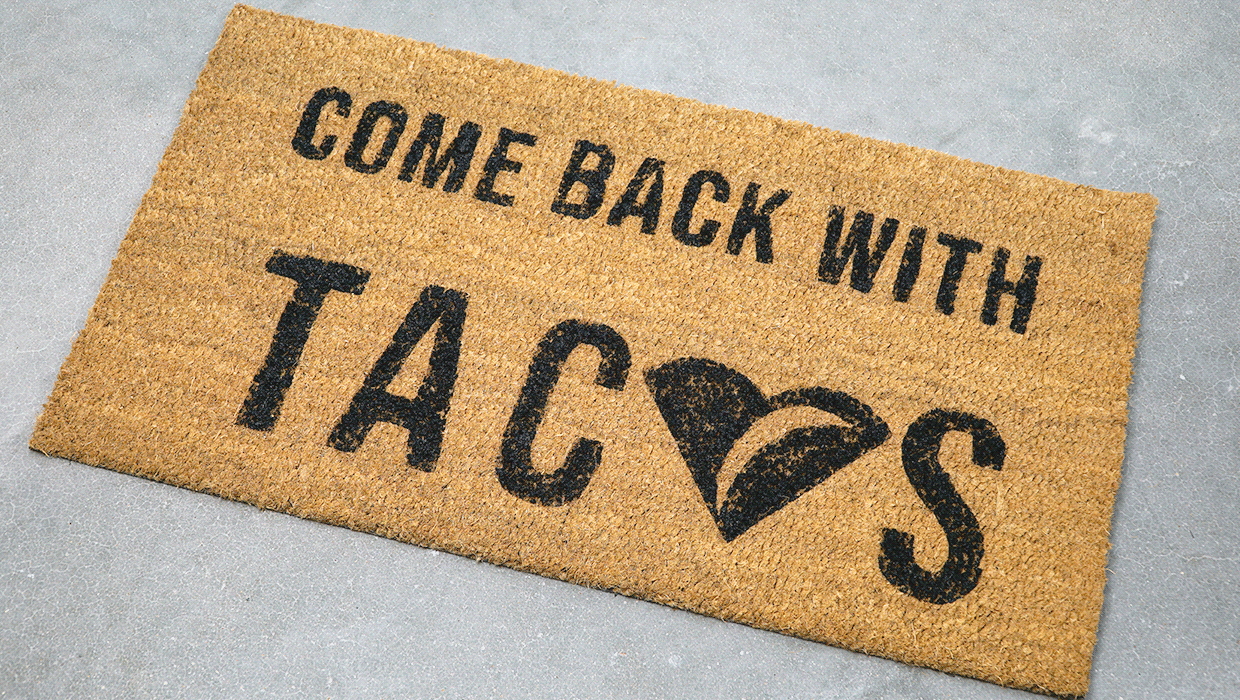
However, if you want to create something that is uniquely you, Simply Self Storage has put together this awesome guide to making your own door mat. I’ve put together the instructions as well as the 11 printables to use as stencils here. There are plenty of options to suit every fancy, such as “Cute Shoes,” “Live Laugh Love,” and even unique (and a little sassy) ones like “Come Back With Tacos.”
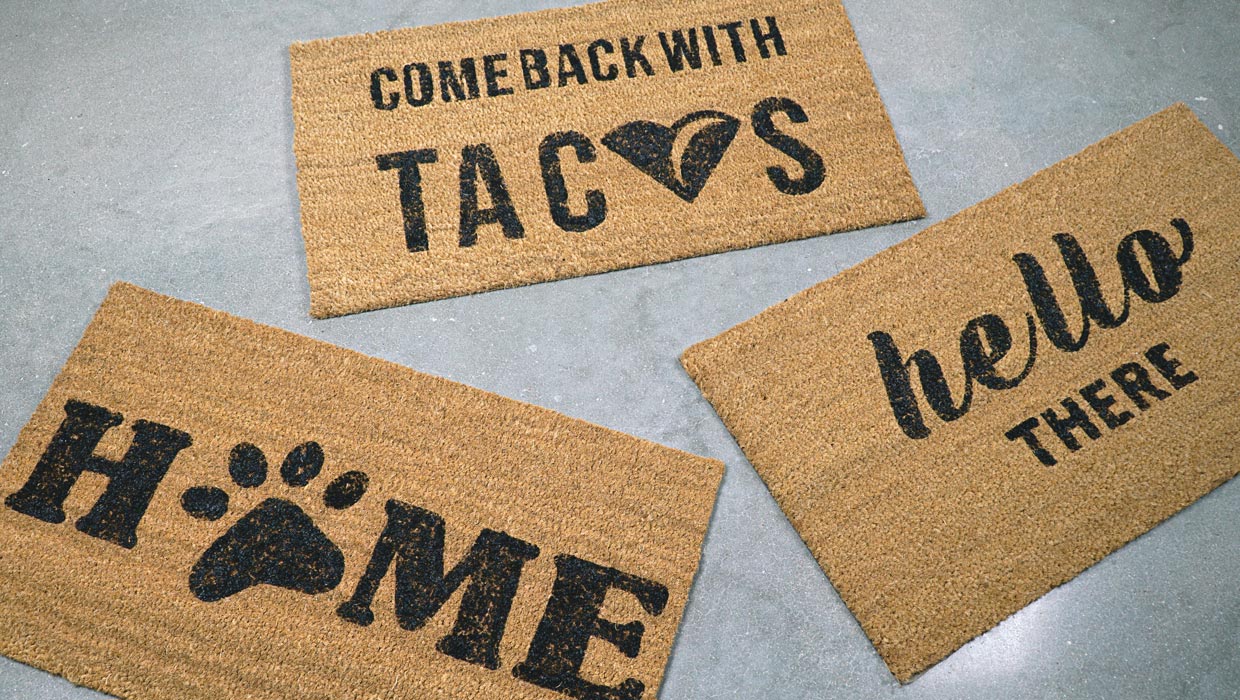
The end result is pretty impressive, but making these DIY doormats is actually quite easy. It does take some finagling with an exacto knife, but as long as you’re careful (and keep these away from small children) you will be fine. Protip: If you’re a beginner with the exacto knife choose one of the stencils with large, bulky lettering (such as the “Hey Y’all”). The curvey, thinner fonts (like “The Password is Guacamole”) are a bit more difficult to cut out.
Now that we’ve gone over the basics, I’ve included a list of materials and step by step instructions for creating your very own!
Materials You Will Need:
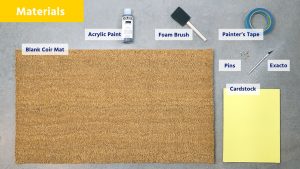
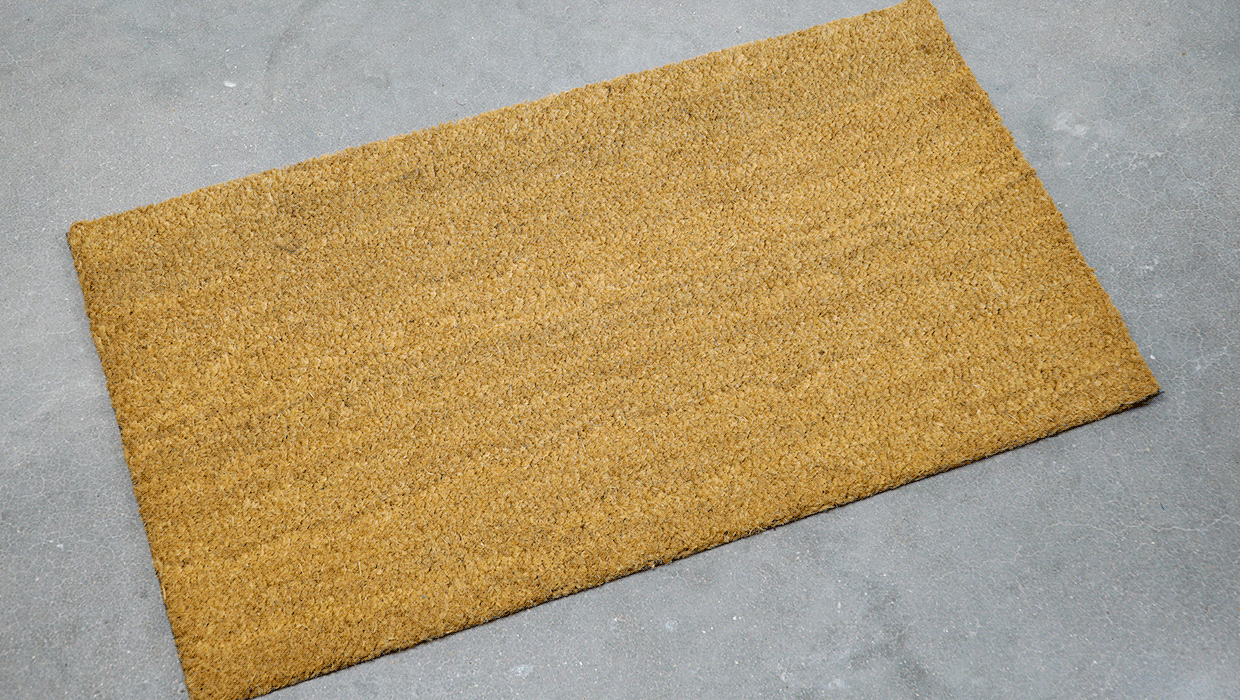
Blank coir mat (standard outdoor mat)
Outdoor acrylic paint
Foam paint brushes
Exacto knife
Cardstock
Painter’s Tape
Pins
Printer
And a downloaded stencil!
- Pick Your Design and Print it
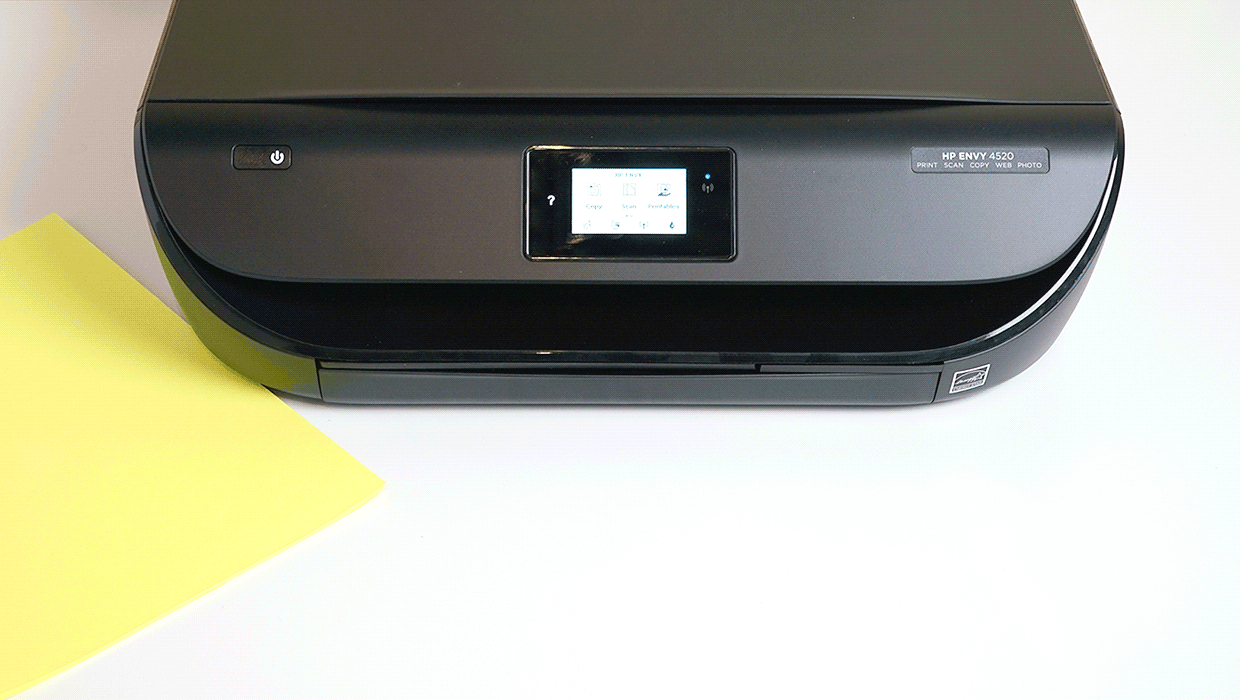
Choose the stencil that speaks to you from the list. Once you’ve found the perfect one, print it out on some printer-safe cardstock. The stencils work best on 18×30” doormats, which are the standard size for doormats.
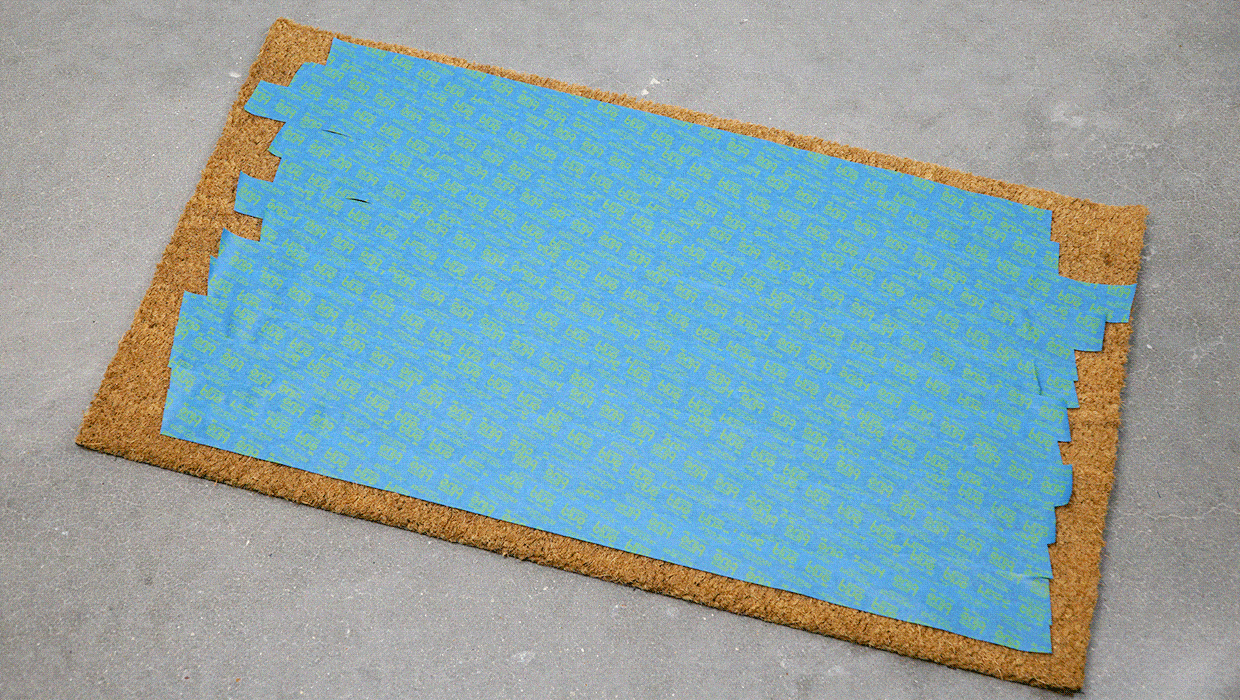
- Cover Your Mat in Tape
Use the painter’s tape to fully cover the surface of the doormat. Make sure it is firmly pressed down and there are no gaps in the tape. This will be important for the painting phase.
- Place the Stencils on Your Mat
Place the stencils on the mat arranged like you would like and then pin it in place. Keep an eye out for any “floating” elements that will fall off easily if not pinned down.
- CAREFULLY Cut Out Your Design
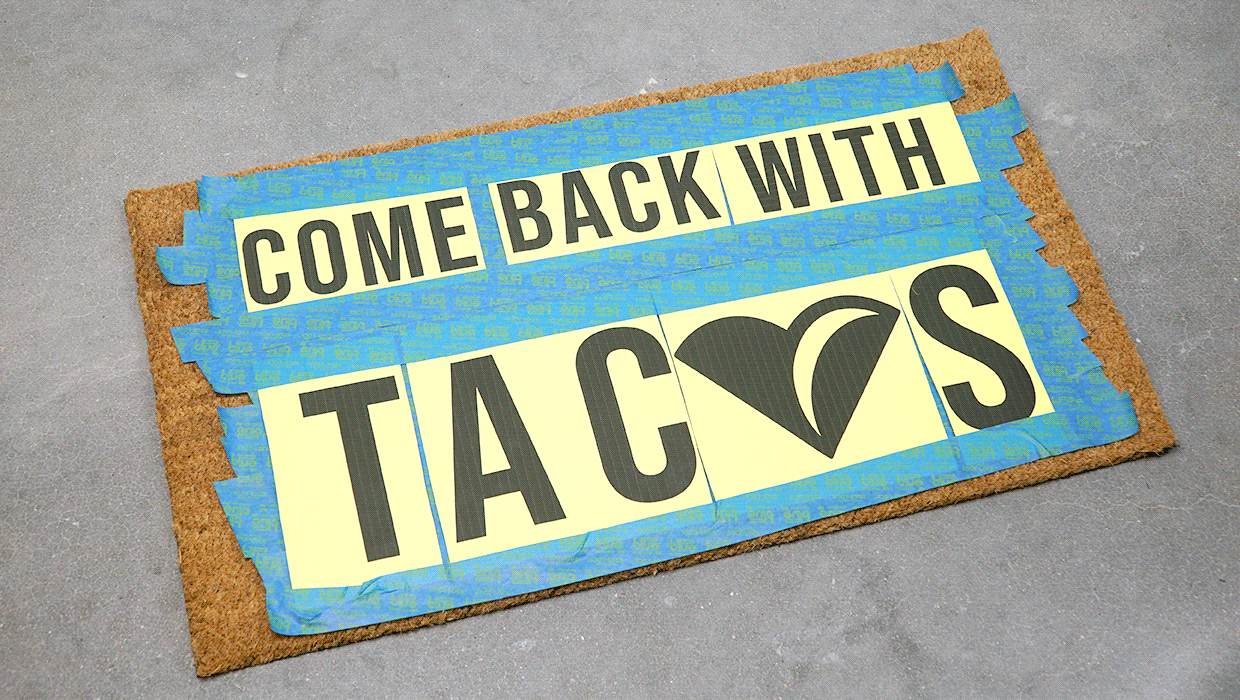
This is the tricky part—use your exacto knife to cut along the stencil, slicing through the cardstock and tape. You want the areas where paint will go to be completely exposed. If you’re struggling to cut, try getting a new blade.
- Blot Several Coats of Paint
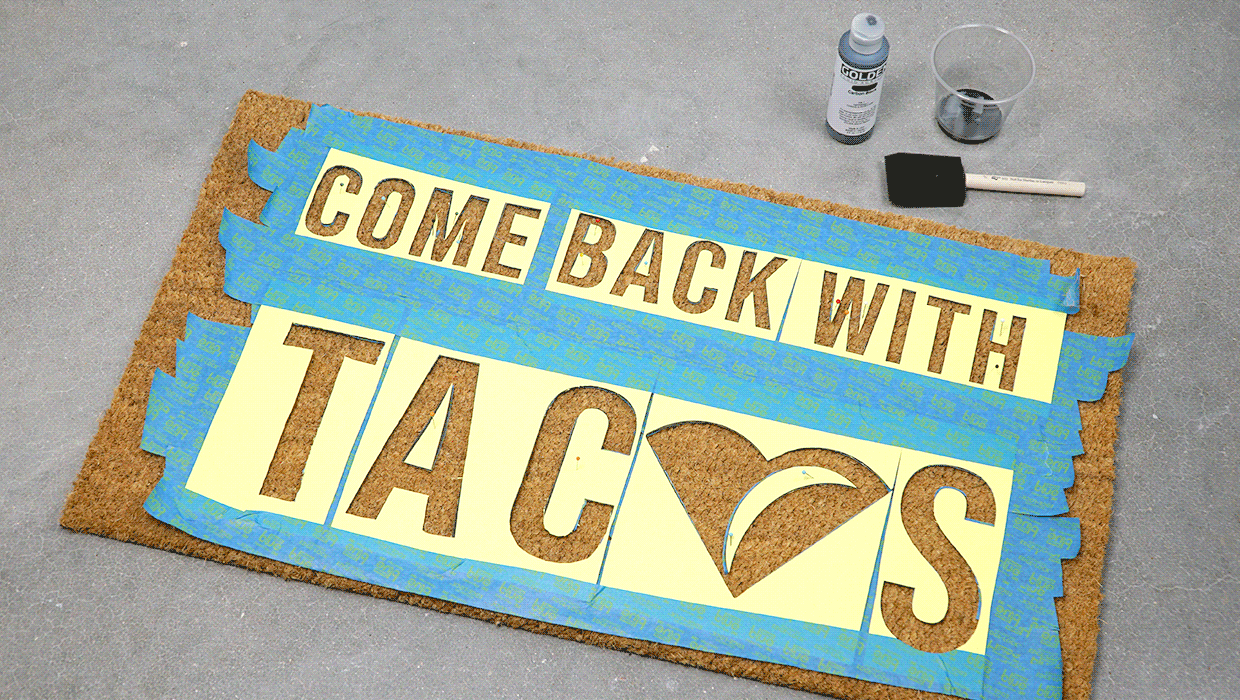
Using a dark color of acrylic paint, paint the negative space in your design (where you can see the mat peaking out). You will want to blot, not rub, so that you don’t smear the design. It might take a few coats.
- Let Dry and Reveal Your Design
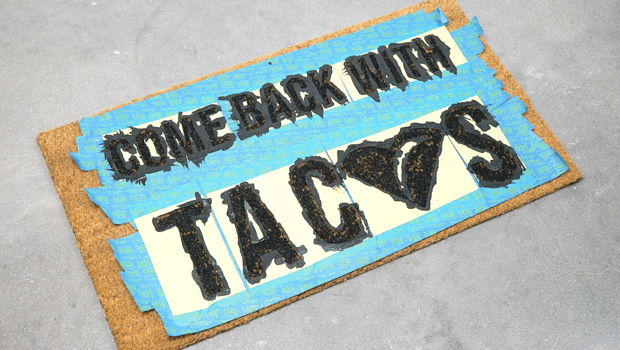
Give the paint a few hours (or overnight) to dry fully, then carefully remove the tape to reveal your design.
- Enjoy Your Doormat!
Which design would you choose? Happy crafting!


Leave a Reply